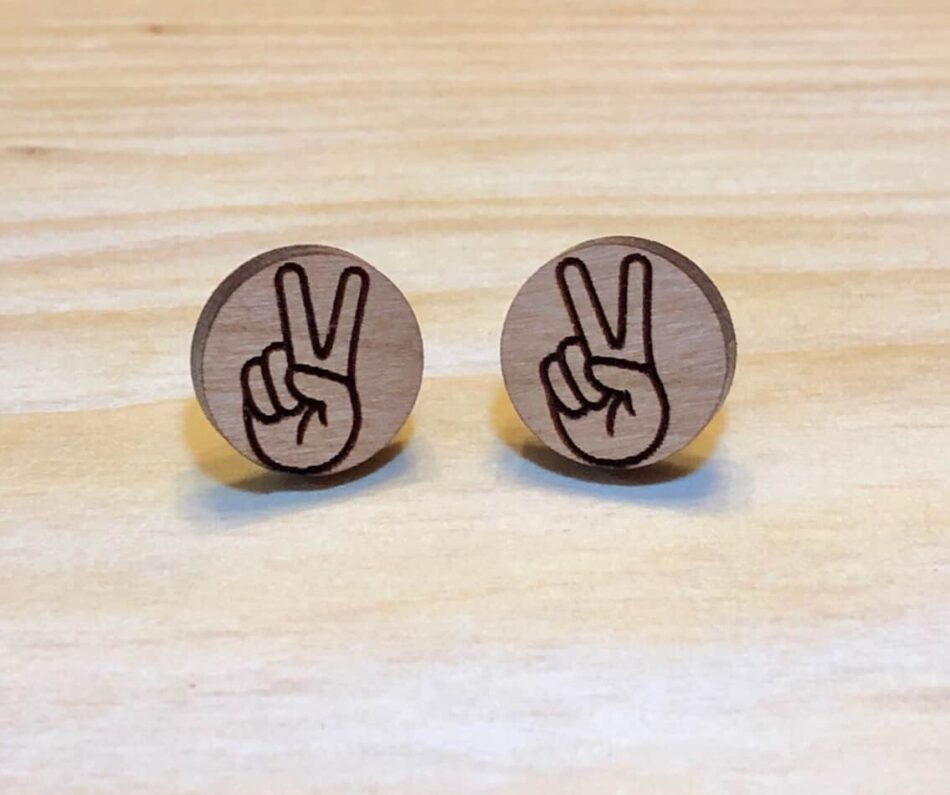
Unique jewelry has become one of my favorite things to create using the Glowforge Pro laser printer. Making laser cut wood earrings is so simple that even if you are new to laser cutting, I can show you how to make a pair of original studs following these easy steps.
Recently, I have been working on some earrings for the Fourth of July holiday and I will take you through my process for how I made some cute wooden stud earrings!
Tutorial: Laser Cut Wood Earring Studs
Laser cut wood earrings can make a bold and trendy fashion statement or an elegant and minimalist addition to your outfit. Follow these steps to make your own!
Step 1
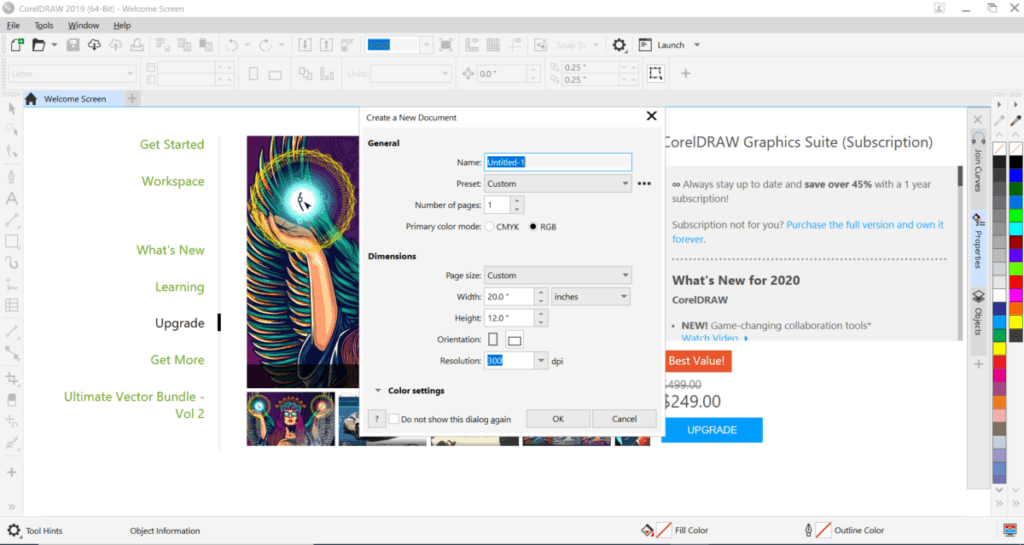
Choose a graphic design program. In this tutorial demonstration, I am going to show you using my favorite, CorelDraw! If you need help beyond this tutorial with CorelDraw, you can check out their learning center which you can find by clicking here.
Step 2
Open up a new document and be sure to choose the “RGB” color scale and the correct height and width settings. The Glowforge Pro laser printer has inside area dimensions of 20 inches in width by 12 inches in height. This means that the largest flat material I can put inside the printer is 12” X 20”.
One tip of advice, it is a good idea to set your computer design working space to the same dimensions as your actual printer so the measurements scale correctly when you adjust the size of your final design. RGB stands for Red, Green, and Blue and is the color palette the laser printer recognizes.
Step 3
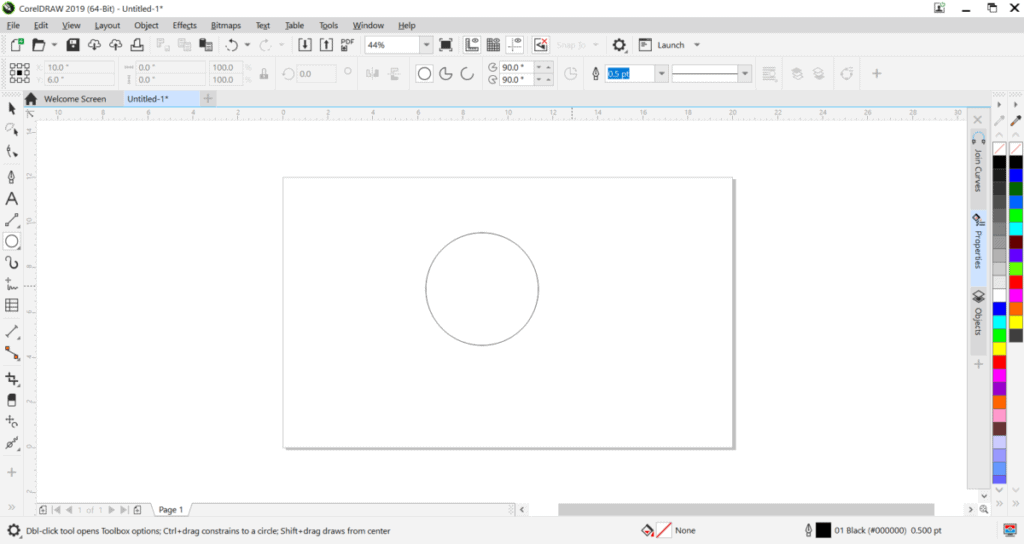
Next, open up your new document and use the circle tool to create a circle. Holding the “ctrl” key while you drag your mouse will ensure you make a perfect circle. For other design programs, it may be that you hold the shift key for a perfect circle.
For right now, the size of the circle doesn’t matter too much, so just make one large enough to see clearly.
Step 4
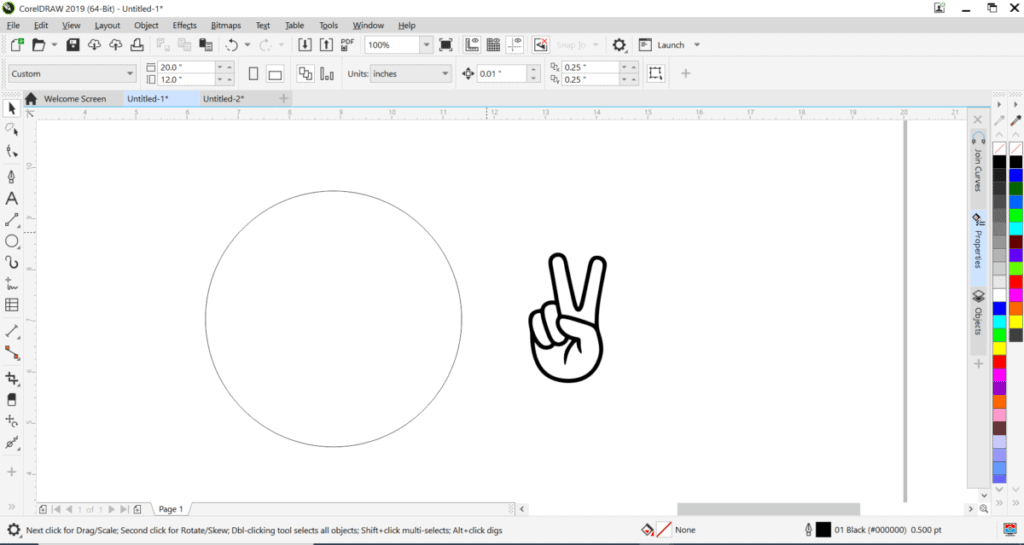
This is the fun part! What kind of laser cut wood earrings would you like to make? You could use the tools in CorelDraw to create your own design or if you need help in this step, you could purchase a design as an SVG file, save the file, and upload the design into your program.
Purchasing SVG files is easy! There are thousands of cheap, easy to download, totally editable, and ready to print files to choose from if designing in illustrator software is new to you.
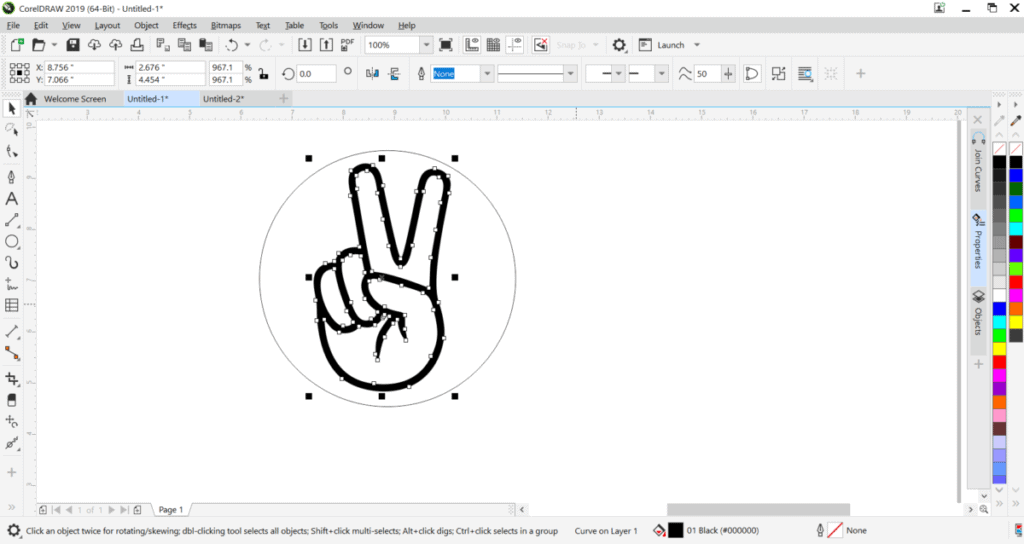
For my example, I chose a peace sign that you can find on Etsy here.
Step 5
Now, you will need to resize your design. First, highlight the entire image by clicking just outside of it and dragging your cursor over the entire image. Small little black squares or nodes should appear all around your image to let you know it is totally highlighted.
Second, as you hover over the top right node, you should see your cursor tool change from a single arrow line “/ ” to a “X” marked with arrows when you press and hold down the SHIFT key. When you see the “X”, drag the image to adjust to the size you want. Holding down the shift key during sizing will ensure your image stays true to scale.
Finally, once you have a good size, un-highlight your design by clicking anywhere outside your image and then click and drag your image to the inside of your earring circle.
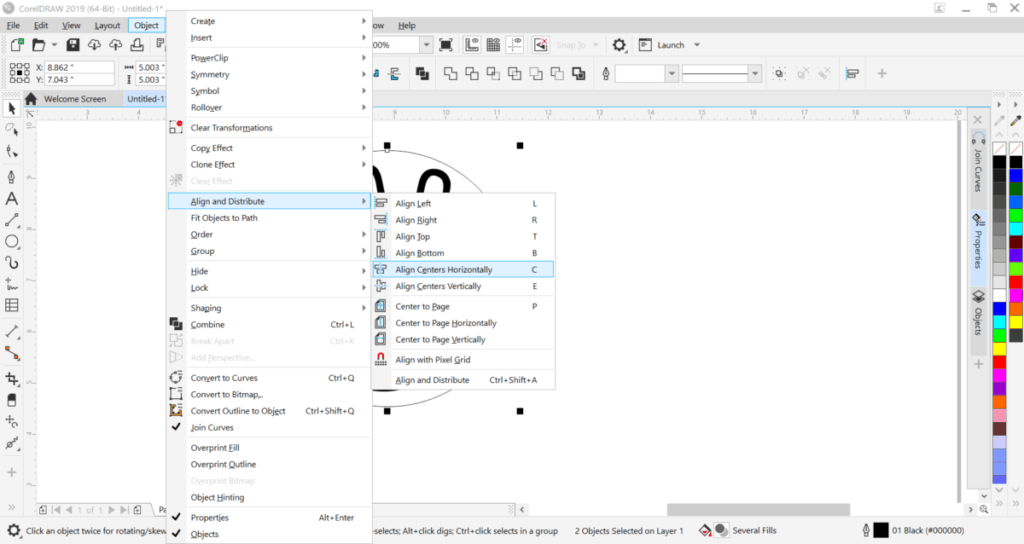
**If you want to PERFECTLY center your image to the large circle, you can do this by holding down the SHIFT key while you click on both the image AND the circle. This will highlight both images at the same time. Then, go up to your tool bar and press “Object” , then “Align and Distribute”, and then you can choose to align both centers either Horizontally or Vertically or both, depending on what you want.**
Step 6
Color choices. Choosing the colors for your design will let the printer know which parts to score, engrave, and laser cut your wood stud earrings.
In other words, a score is a simple, thin, and shallow laser etched line or curve. An engrave is any part of your image you want to thicken, darken, or etch out. A cut is when the laser cuts all the way through the material.
Understanding Color Coding for Laser Printing
The Glowforge uses the RGB color palette to recognize instructions on printing your image.
If the image has a fill color, it will automatically be engraved. Any part of the image that does not have a fill, and is just an outline, will be a score. A red outline will be a cut. You can not use red for fill, because you can not engrave and cut at the same time and red is the cut color.
Color Your Earrings
Make your circle line RED. You can make your design color any other color except red. Leaving your image black will be OKAY as long as you are aware of whether or not your image is a FILL or an OUTLINE. Remember, that anything with a fill will be an engrave.
For my peace sign, I left the peace hand as black and a FILL to ensure the image comes out nice and bold as an engrave. I made the circle outline red for the cut.
To change colors, click on the image you want to color, and go to “Properties”. Here you can view what properties your selected image has. If you click on part of your image, you’ll be able to tell if it is a fill or an outline and get an idea of how your design will print.
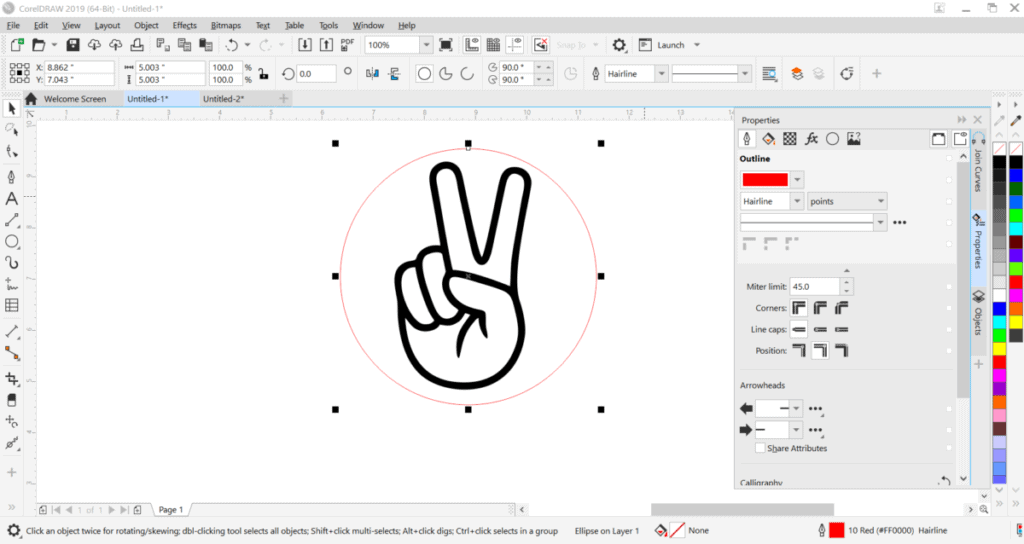
This is how your image should look. Just the outline circle red with no fill and your image in another color. I always make my outline lines a “hairline” size line in the “Properties” tab.
Scores (or outlines) will always be the same size even if you make your outline line thicker by adjusting the size. To clarify, the printer recognizes all outlines or lines as a score and they will always print the same size. The only way to make a line thicker, is to change the line to a fill, enlarge it and engrave it.
Step 7
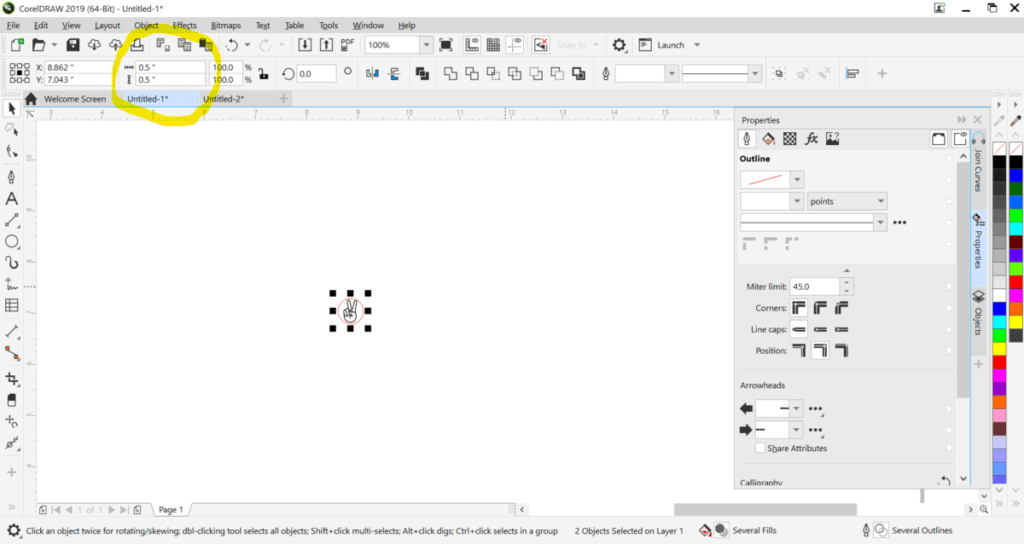
LAST STEP! Adjust your size to fit your ear lobe. Common sizes for laser cut wood earrings are ½ inch, ¾ inch and 1 inch. I like the ½ inch size stud for myself.
You’ll need to highlight your entire image by clicking and dragging over the entire design. Next, look up in the top left toolbar and you’ll see two small bars with a height and width symbol next to it. Type in 0.5 in the first and 0.5 in the second to make your design exactly a half inch.
And there you have it! You are all set to laser cut and engrave a unique and original wooden stud earring! To laser cut two earrings at the same time, simply duplicate your final design by highlighting it and hitting “ctrl” and “D”.
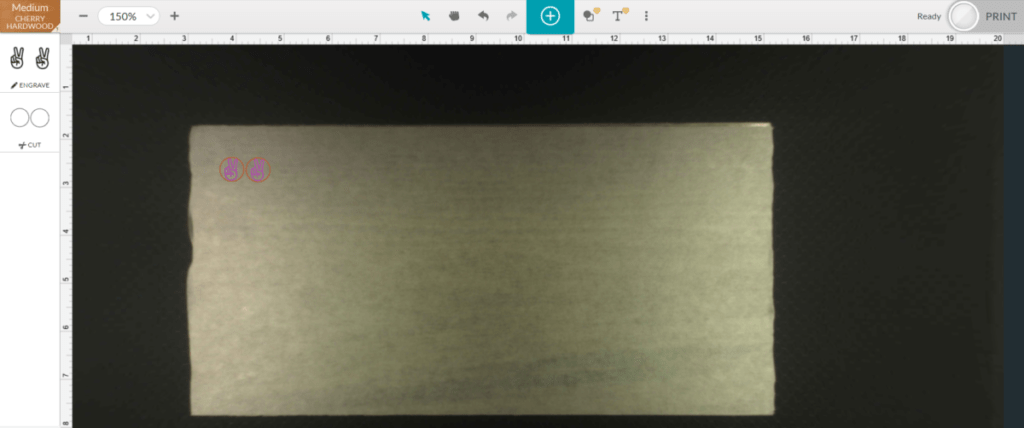
To finish up, save your final design as a SVG to upload into the glowforge app! It’s easy to upload and your image will already be the correct size. I used the standard glowforge settings that come with the proofgrade wood material. Just double check that the printer is set to follow all the correct instructions like the below image 🙂
Hopefully, this tutorial will assist you with laser cutting some of your own wooden earrings. If you would like more information on this topic or have any questions, shoot us an email at answer@jackforge.com. Happy laser cutting!